What's New
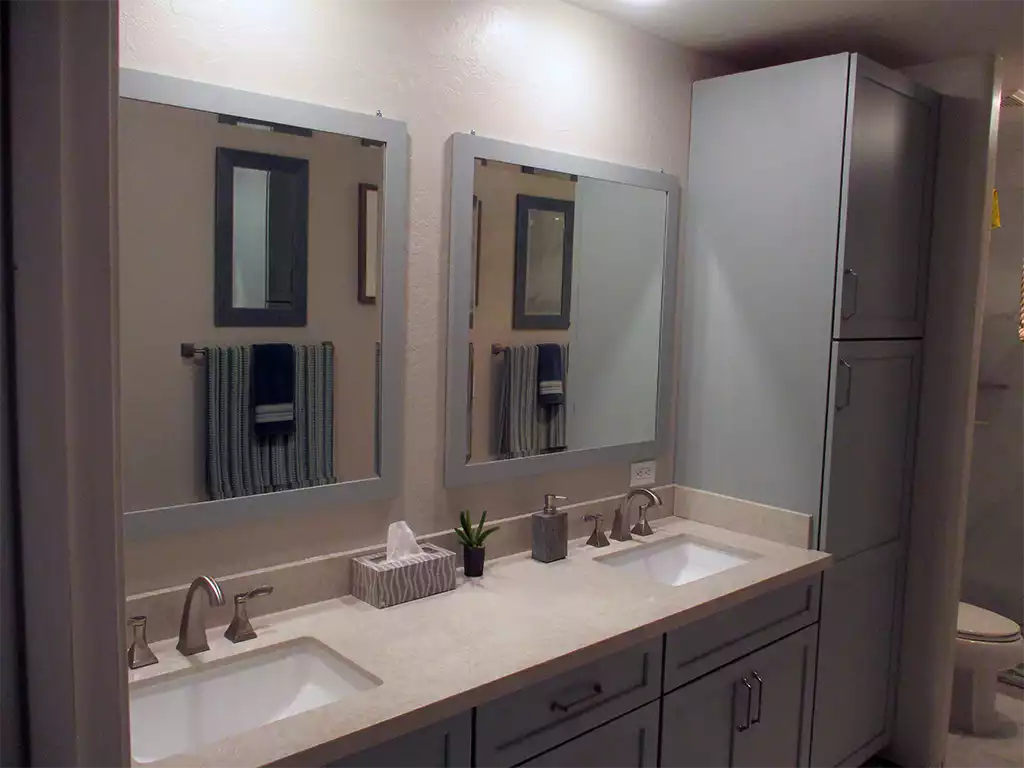
Cabinets are a Shaker Style Painted with a Light Bluish Green with matching Mirrors, Linen Cabinet and Medicine Wall Cabinet (not shown). Quartz is the Countertop for the Double Sinks, all the Plumbing Fixtures Upgraded. The Electrical was also upgraded to include GFCI Outlets for each Sink.
The Flooring is a 1 foot by 2 foot Ceramic that matches the Shower Walls, the Waterfall effect on the Wall matches the Tile used on the Floor. We did a Separate Article on this Shower that explains Step by Step Construction, see the Link below.
As many Bath Remodels as I have been a Part of, Removing Large Mirrors or Big Shower Glass Walls is DANGEROUS. In some cases we have sealed off the Room then Pitched a Large Hammer at the Mirror or Large Glass Walls then Clean up the Small Pieces, even that is DANGEROUS. I don't Recommend either just call a Pro to get the Glass out.
The Shower
The Finished Shower is 6 foot 4 inches Wide, the Owner decided that a Door in and out of the Shower would not be needed. I would prefer a Door or at least A Vertical Support from Top & Bottom.
In the Final Image below notice the Verticle Waterfall Tile is not in the Center of the Shower. It Was decided that the Placement should be more Visable from the Entry and not located in the Center.
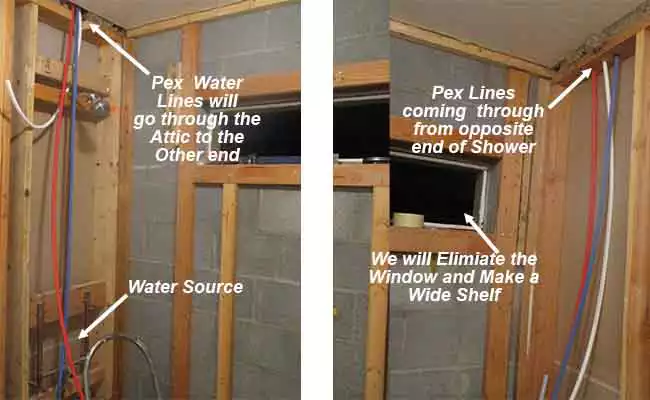
In The Image below on the Left is the existing Copper that was for the Old Shower. The Plumber will cut out most of the Pipes shown here and attach Pex to run over to the opposite end and back to the Shower Head. The Shower can be adjusted before getting Wet.

As seen in the Image below Pex Piping has been run up through the attic ready for the Plumber.
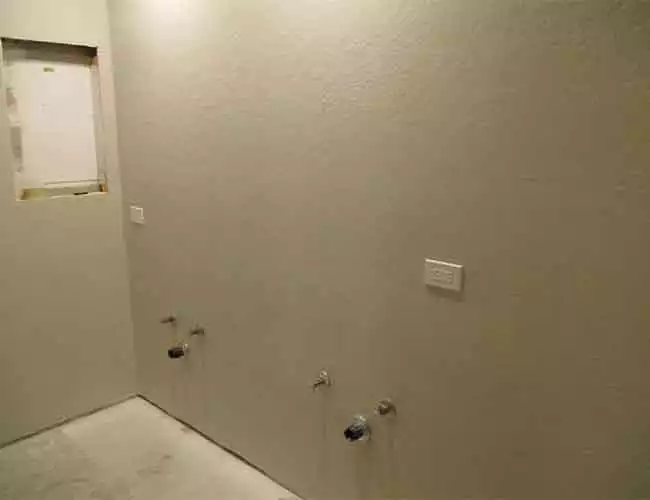
In the Image below you can see The Drywall Repairs in the Cabinet Portion of the Bathroom have been Completed and Painted.
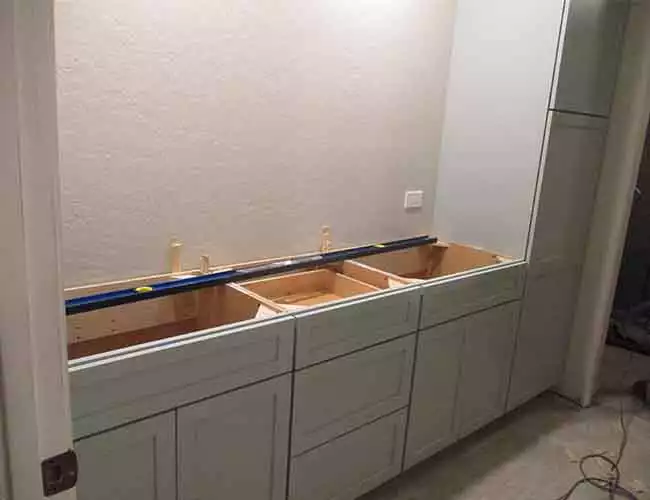
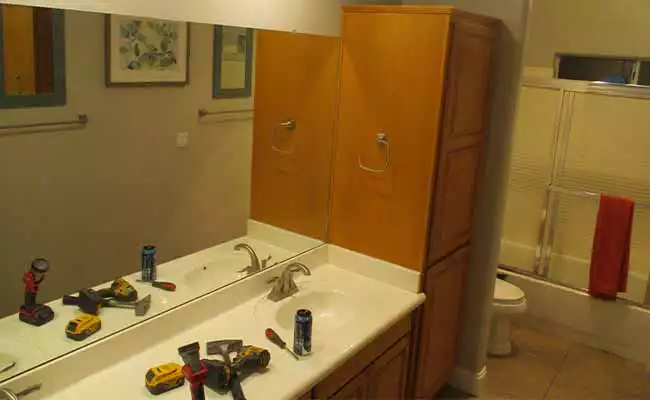
The Installers just Finished installing the Cabinets, Next get The Shower and Floor Started
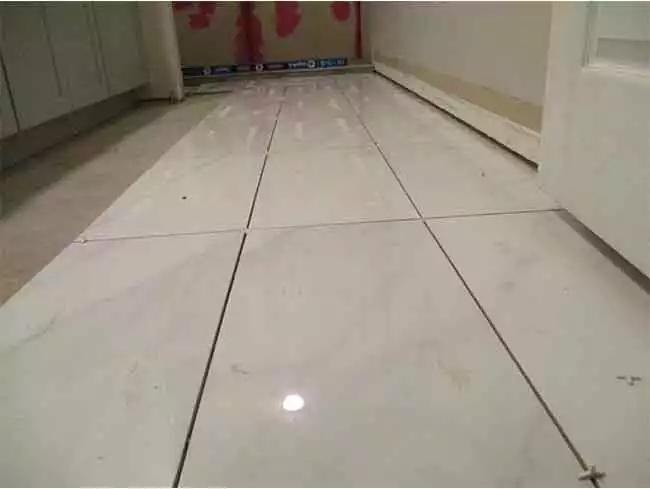
We shot this Image to show the Perfect alignment of the Tile on the Floor.
A few days after the Room was Completed we stopped by to get a Final Image. The before Image is just below.

Comment Below
Internal Links
Building A Custom Shower Step by Step
Like this Article, you can give us a Thumbs just click on the Icon. It's anonymous and we will Thank You.

“I never did a day's work in my life. It was all fun”
Thomas Edison
© Copyright 2023 YPRemodel.com. All rights Reserved. This material may not be Published, Broadcast, Rewritten or Redistributed without written Permission.